Yes, it’s possible — even if you have the spinner base.
Supplies
This is a list of what I use, but there are other options available. Feel free to experiment, but please follow the Pro Tips below to ensure success.
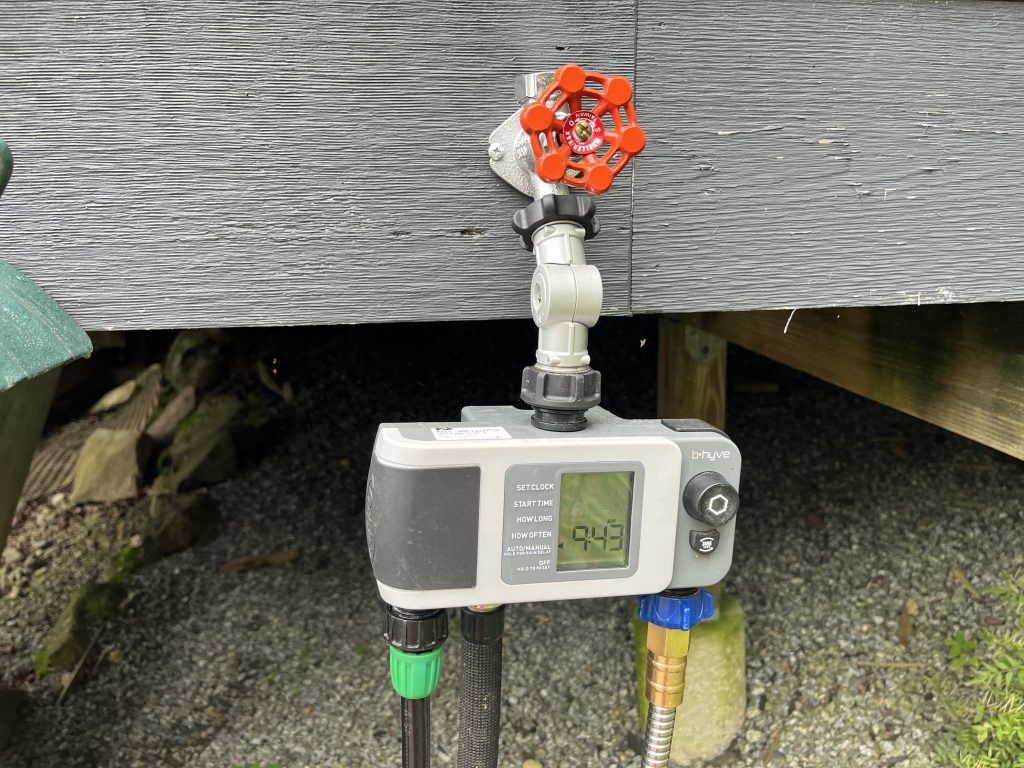
- Orbit B-hyve Smart Hose Watering Timer
- 1/2 Inch Drip Irrigation Tubing
- 1/4″ Flexible Irrigation Tubing
- 3/4″ to 1/2″ Faucet Irrigation Hose Adapter
- 4-Way 1/2″ to 1/4″ Irrigation Adapter
- Assorted 1/4″ Push-To-Connect Fittings
- Push-To-Connect Drip Irrigation Spray Emitter
- Push-To-Connect Drop Irrigation Vortex Emitter
- 1/2″ End Plug
Pro Tips
- All tubing is not equal. Rain Bird is a popular brand, but their 1/2″ tubing is *not* flexible. It’s great if you’re going to staple a long, straight run to the ground, but not a good choice at all for this application if you need to turn corners.
- Smart Timers aren’t cheap, so plan for your needs. I use a 4-port timer because I wanted one port connected to my Greenstalks, one to my raised beds, and one to a regular garden hose. You can use a single port for everything that follows the same watering schedule, provided the length of the entire run is within the range of your water pressure/flow rate.
- Use 1/2″ tubing for everything except the lines that feed the Greenstalk or emitters. Your 1/4″ runs should be as short as possible to get the job done — i.e., just to get from the 1/2″ line to the Greenstalk. This allows you to have optimal water pressure across longer distances.
- Check for leaks, kinks, blockages, and pressure as you go. There’s nothing more frustrating than learning that water isn’t making it past the first junction after you’ve plumbed the entire run.
Connections
Orbit Smart Timer To 1/2″ Irrigation Tubing
- Connect a 3/4″ to 1/2″ faucet adapter to one end of the 1/2″ tubing.
- Connect the adapter to an open port on the timer.
- Temporarily connect a 1/2″ end plug to the other end of the 1/2″ tubing.
- Turn on the water and check for leaks.
1/2″ Irrigation Tubing To 4-Way Fittings
- Run the 1/2″ tubing to a location between the first two Greenstalks.
- Install a 4-way 1/2″ to 1/4″ irrigation adapter.
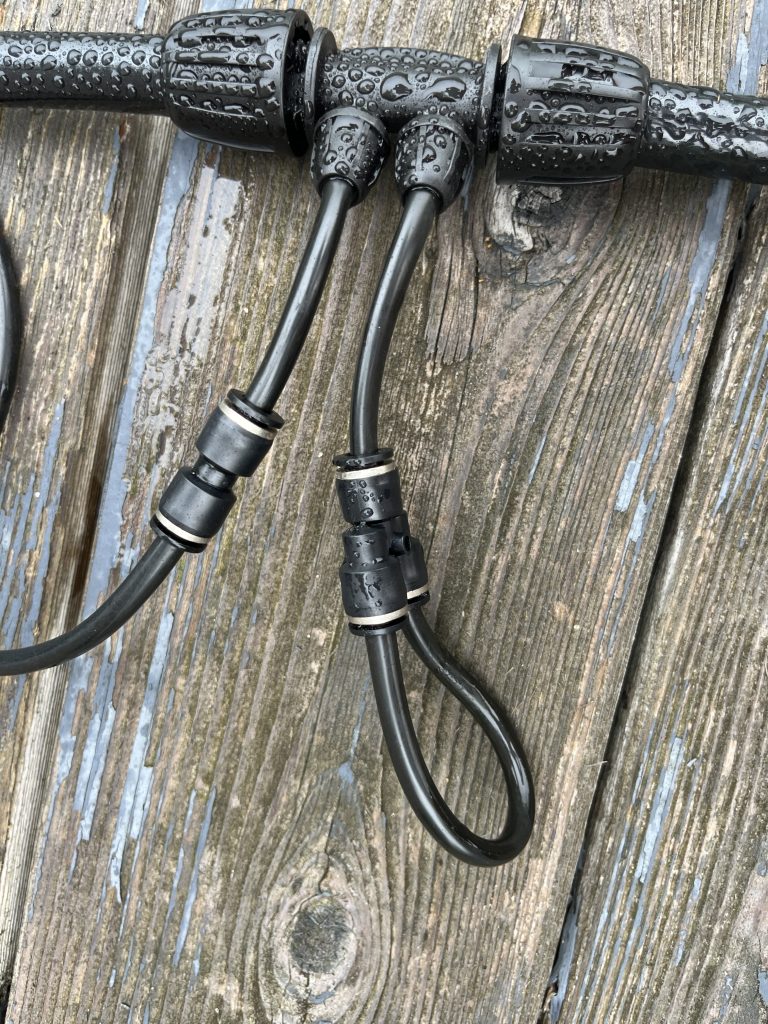
- Cut two 2″ pieces of 1/4″ tubing.
- Connect one end of the tubing to a 1/4″ port on the adapter.
- Connect the other end to a straight passthrough push-to-connect fitting.
- Cut a 6″ piece of 1/2″ tubing.
- Connect one end to the open end of the 4-way adapter.
- Connect the other end to an end plug.
- Turn on the water and check for leaks and flow. Water should be flowing freely from each of the push fittings connected to the 4-way adapter.

1/4″ Irrigation Tubing To The Greenstalk Water Reservoir
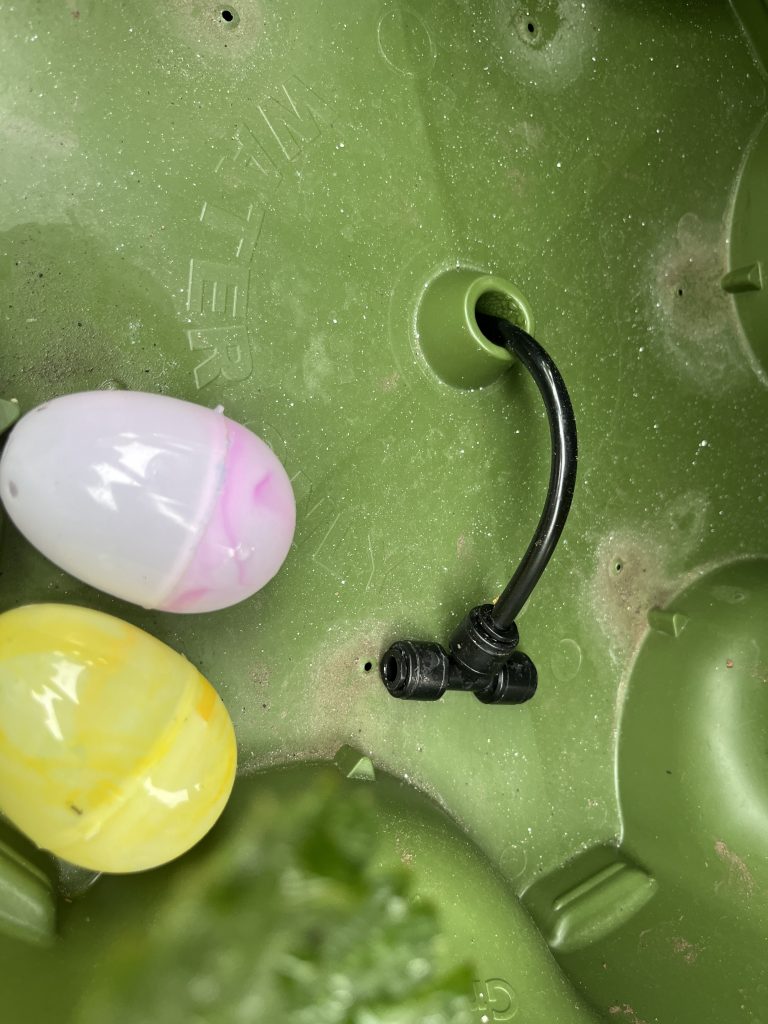
READ ME FIRST! Connect the 1/4″ tubing to the Greenstalk before you cut it to length. You’ll want to make sure you have proper clearance and room to move around. A tube that’s too short will eventually end up blocking the flow of water into the reservoir.
- If you want to be able to use this watering solution with the spinner base, you’ll need to modify your spinner so you can feed the tubing up through the center drain into the water reservoir.
Huge props to Peter from Planter for figuring this out and providing an awesome video that shows exactly how it’s done.
- Run your 1/4″ tubing up through the bottom of the spinner, through the center drain of each tier and watering disk until you get into the water reservoir. You’ll want at least 4-6″ of tubing sticking up.
- Install a push-to-connect tee onto the reservoir end of the 1/4″ tubing.
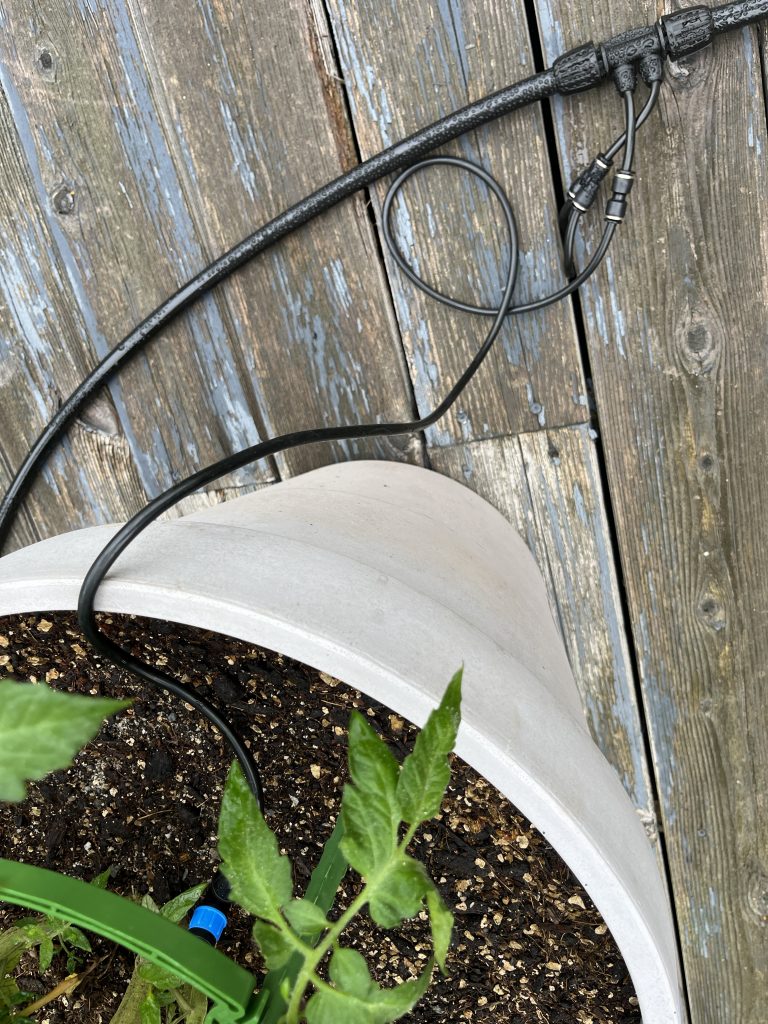
- If you’re not using the spinner base, you can run the 1/4″ tubing up the side of the planter, but you’ll need to use some sort of clip to hold it in place.
- Position the Greenstalk and test for kinks by spinning the tower round and round in one direction. If it starts to kink, the hole you drilled in your spinner base isn’t big enough.
- Continue running the free end of the 1/4″ tubing to the passthrough fitting on the 1/2″ adapter, cut it to length, and connect the tubing.
- Turn on the water to test for leaks and verify that water is flowing freely into the Greenstalk reservoir.
Disconnect the 6″ end stop and set aside. Continue running 1/2″ tubing with 4-way fittings for each additional pair of Greenstalks. Reconnect the 6″ end stop when you get to the end of the line.
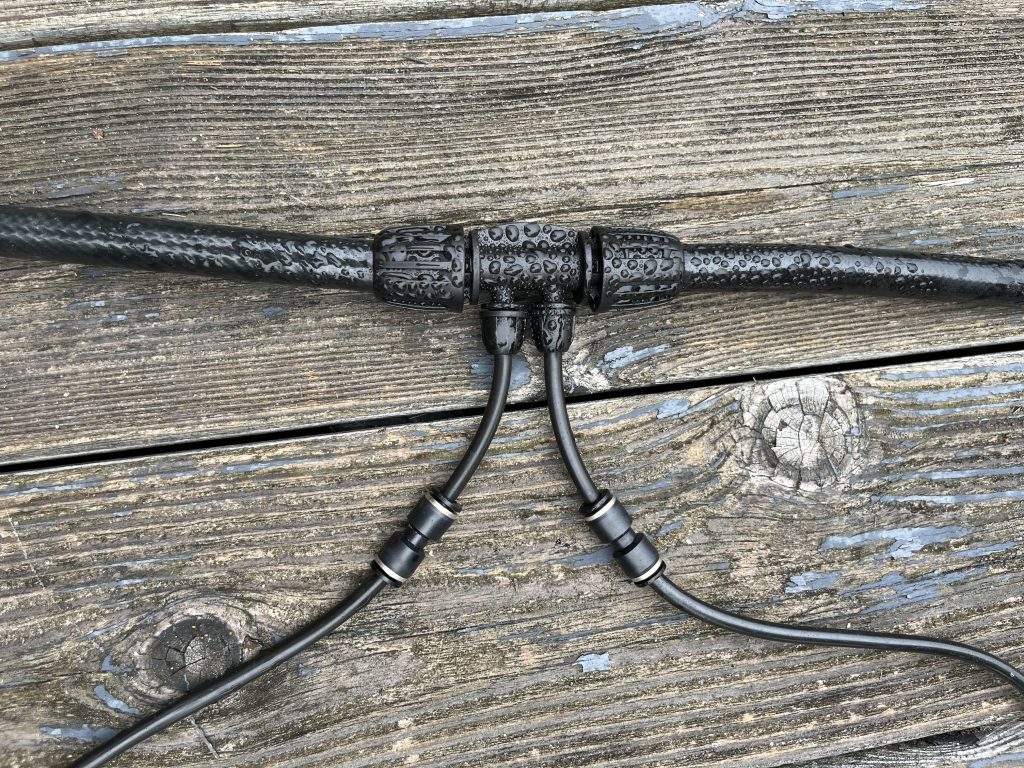
Building An Optional Stopper To Plug An Unused Port
- Cut a 6″ piece of 1/4″ tubing.
- Connect each end to one of the side-by-side ports on a push-to-connect “Y” fitting.
- Cut a 2″ piece of 1/4″ tubing.
- Connect one end to the unused port on the 4-way adapter.
- Connect the other end of the open port on the “Y” fitting.
- Turn on the water and check for leaks.
Adding Emitters For Containers Near The Greenstalks
- Cut a length of 1/4″ tubing that will reach from the 4-way adapter to the soil in the container.
- Connect one end to the passthrough fitting on the 4-way adapter.
- Connect the other end to the emitter and install it in the container.
- Turn on the water and check for leaks and water flow.